Adding a New Role
Follow the steps below to add a new role:
- Click Roles from the left-side menu.
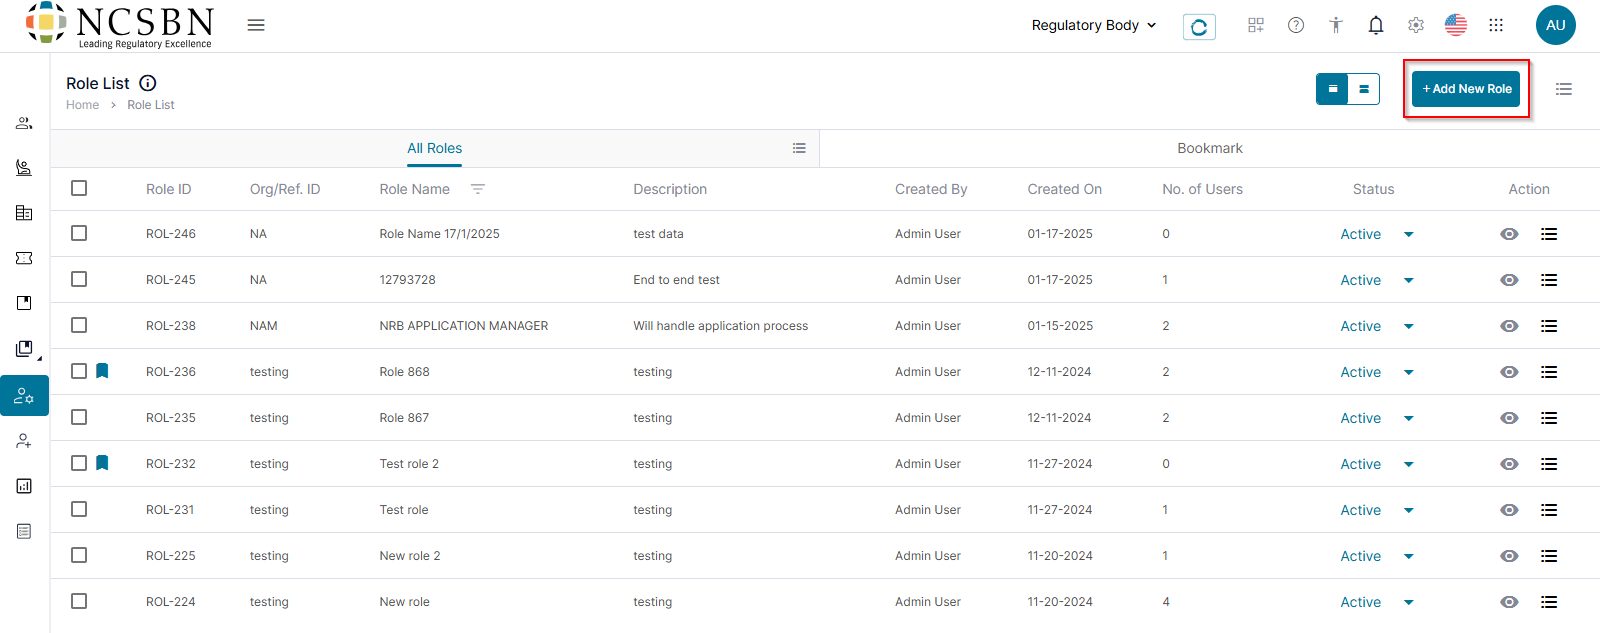
- Click +New Role.
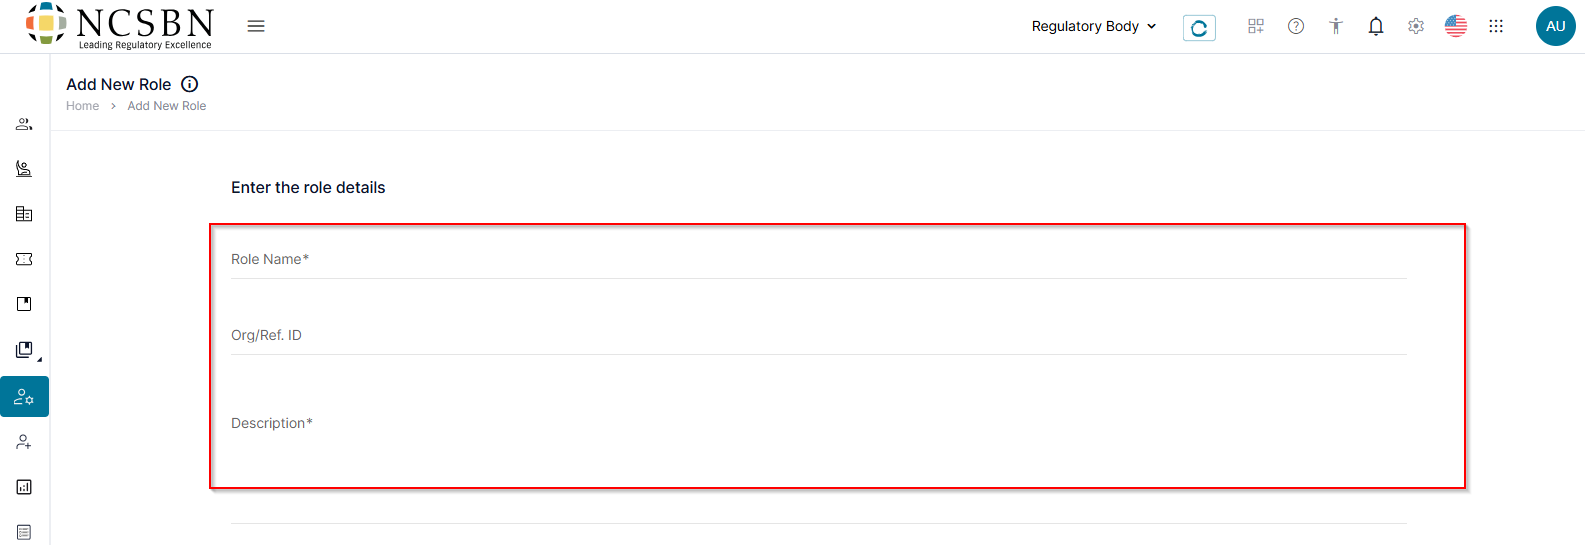
- In the role details section, enter the Role Name, Org/Reg. ID, and Description.
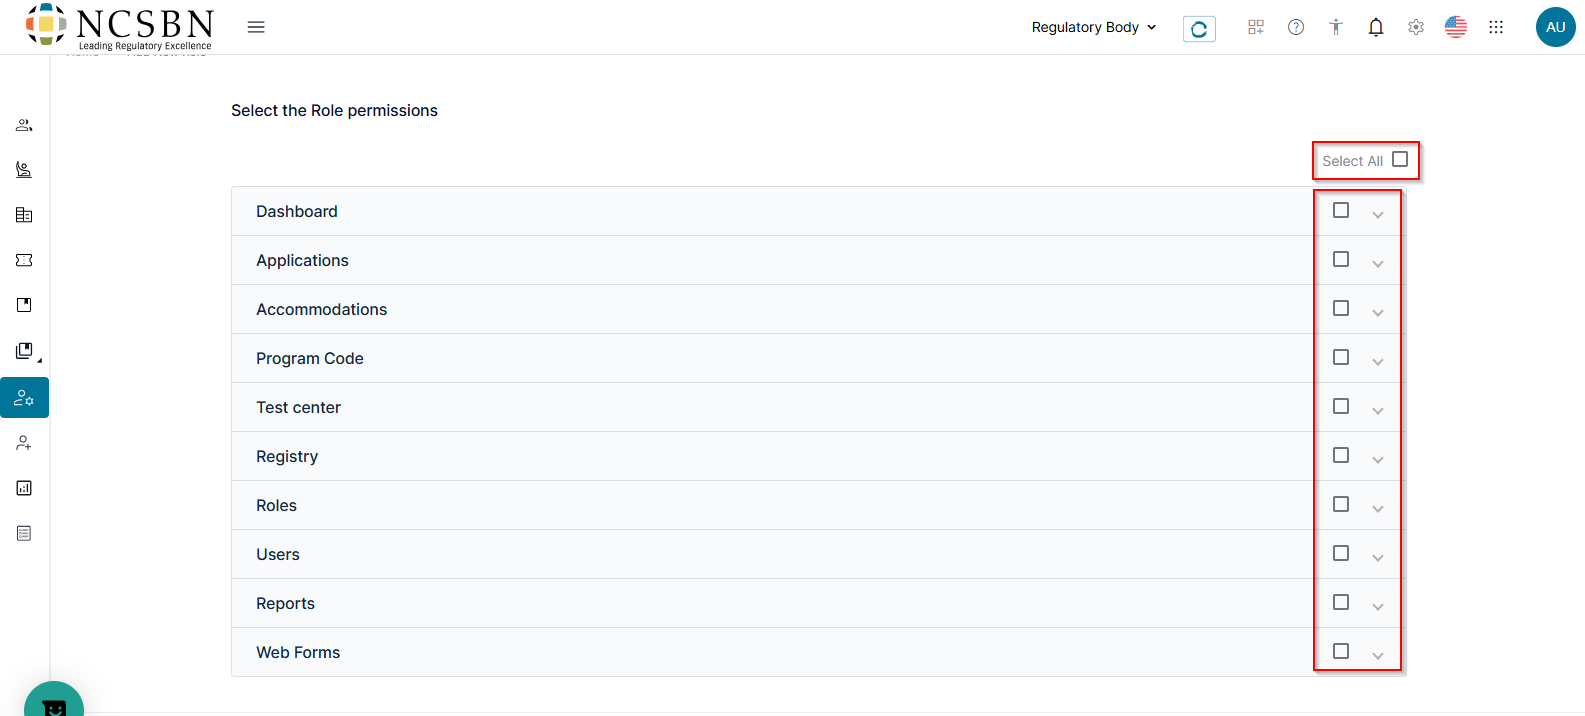
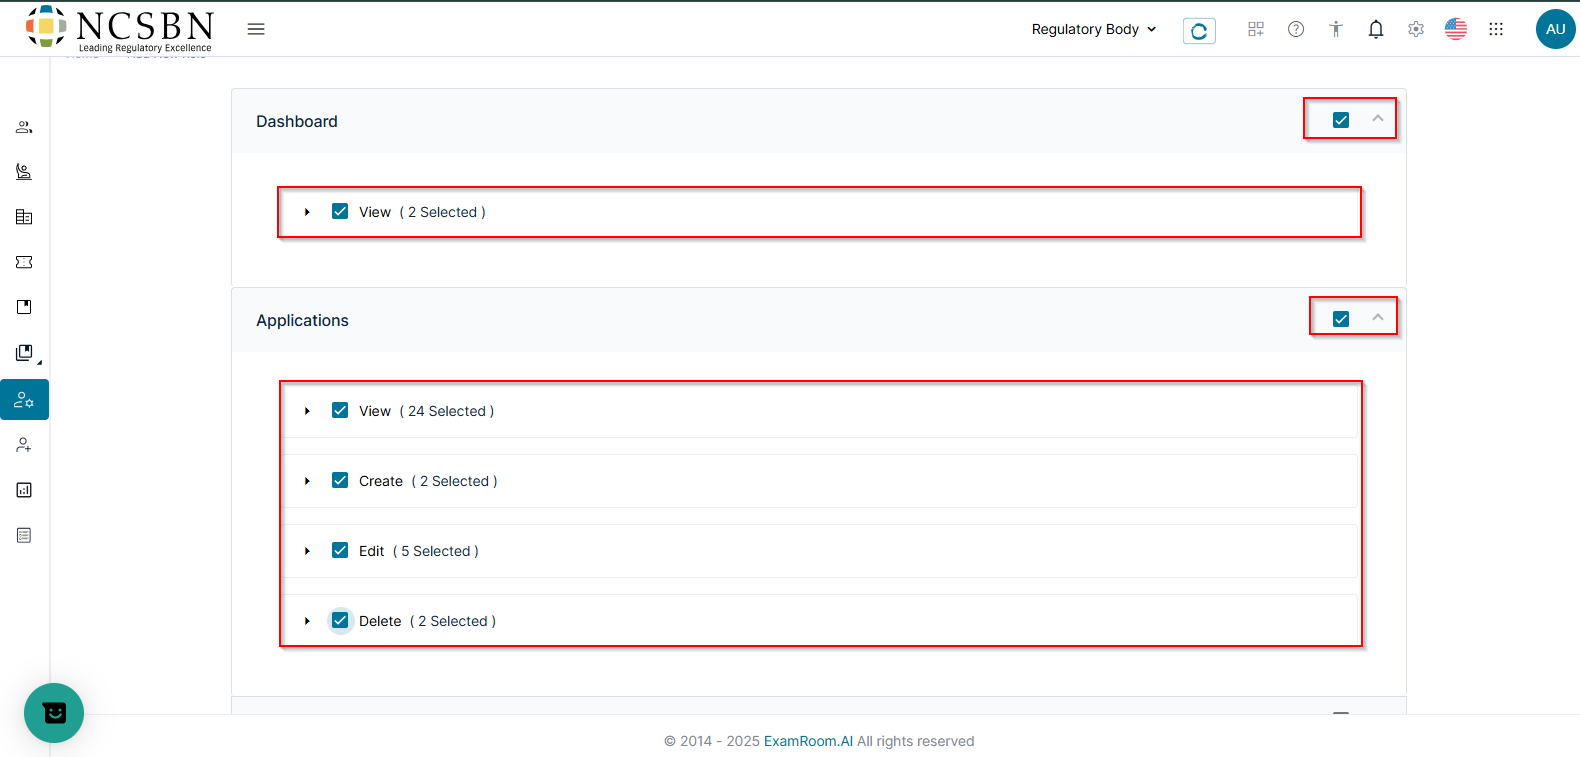
- In the Select the Role Permission section, Select All to provide access to all permissions, or select only the ones you want the user to have.
- Click the Dropdown Menu icon to expand the role permissions to view sub-permissions.
Note: Each role permission has additional sub-permissions, such as View, Create, Edit, and Delete. Clicking Select All grants permission to all sub-permissions.
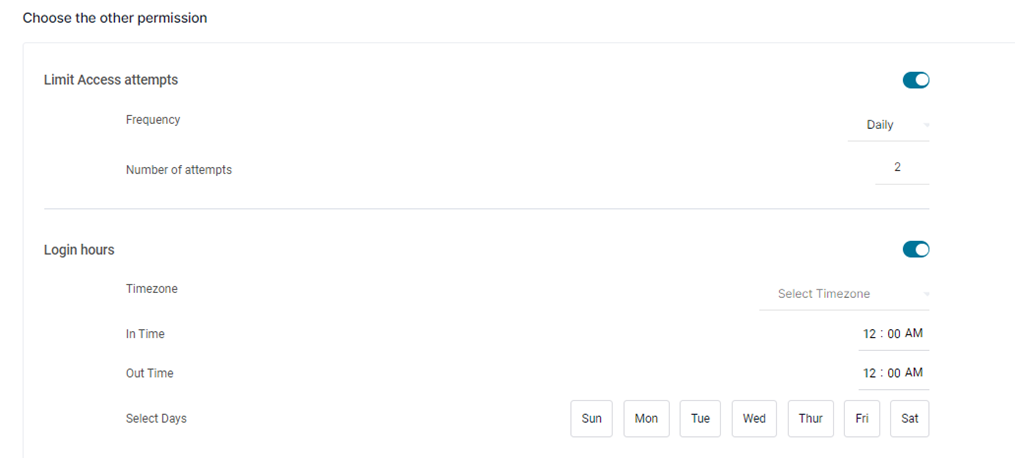
- Click Choose the other permission to select additional permissions.
- The other permissions are set to active by default.
To turn it off, click the button to make it inactive
.
- Click Submit to save the details or click Save as Draft to complete later. Otherwise, click Cancel to exit without saving.