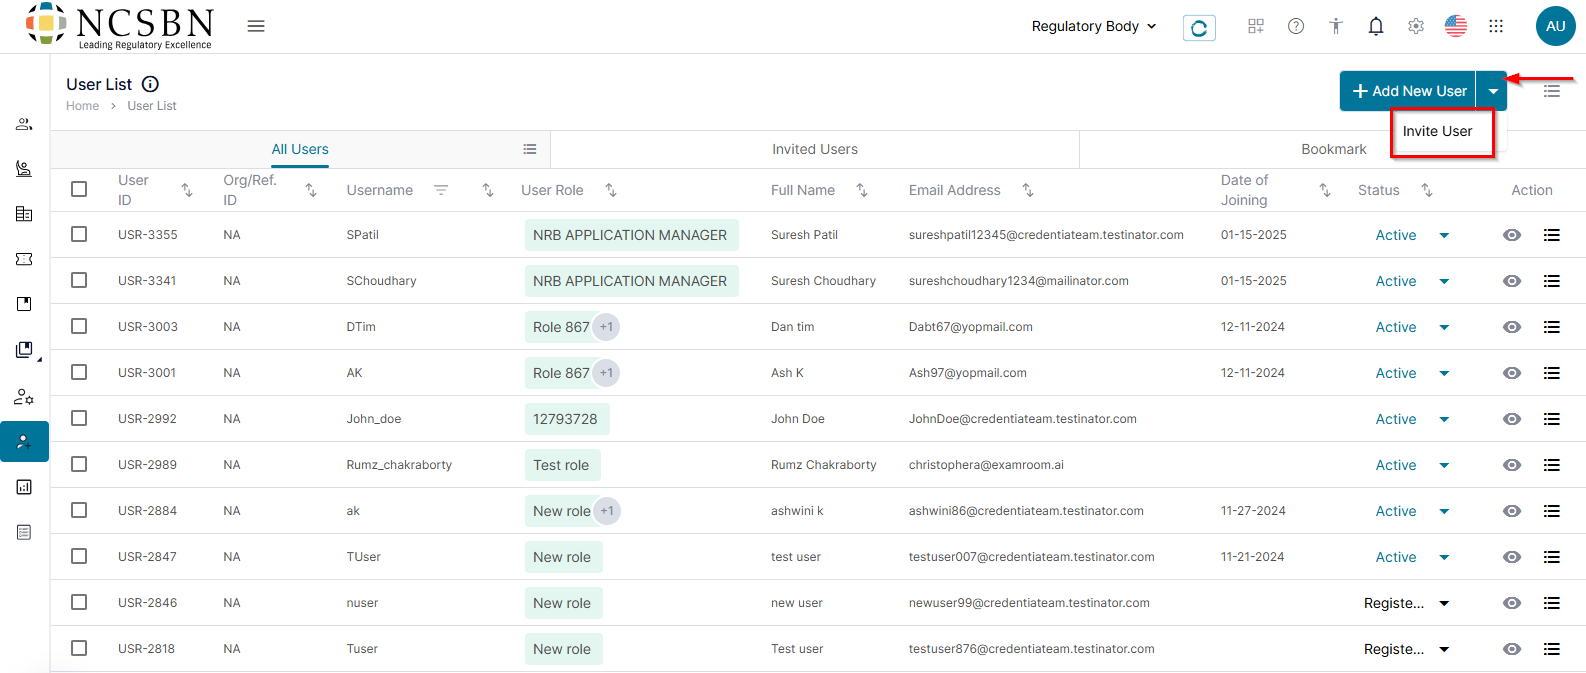
Add a New User/Invite a User
To add a new user/Invite a user
Follow the steps below to add a new user:
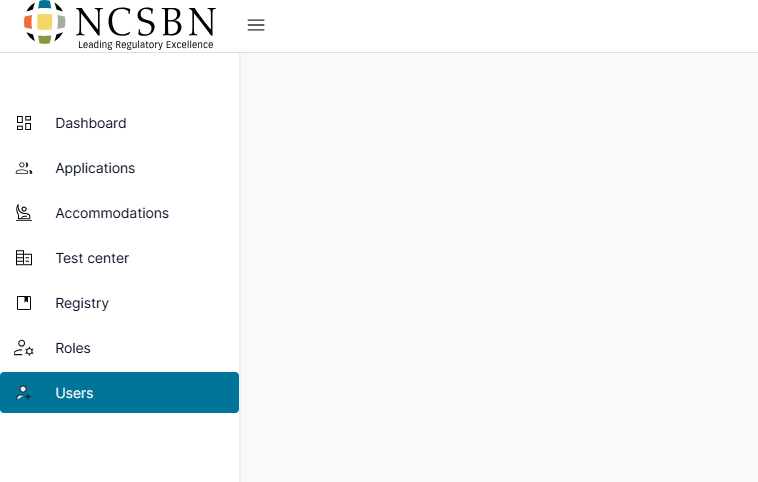
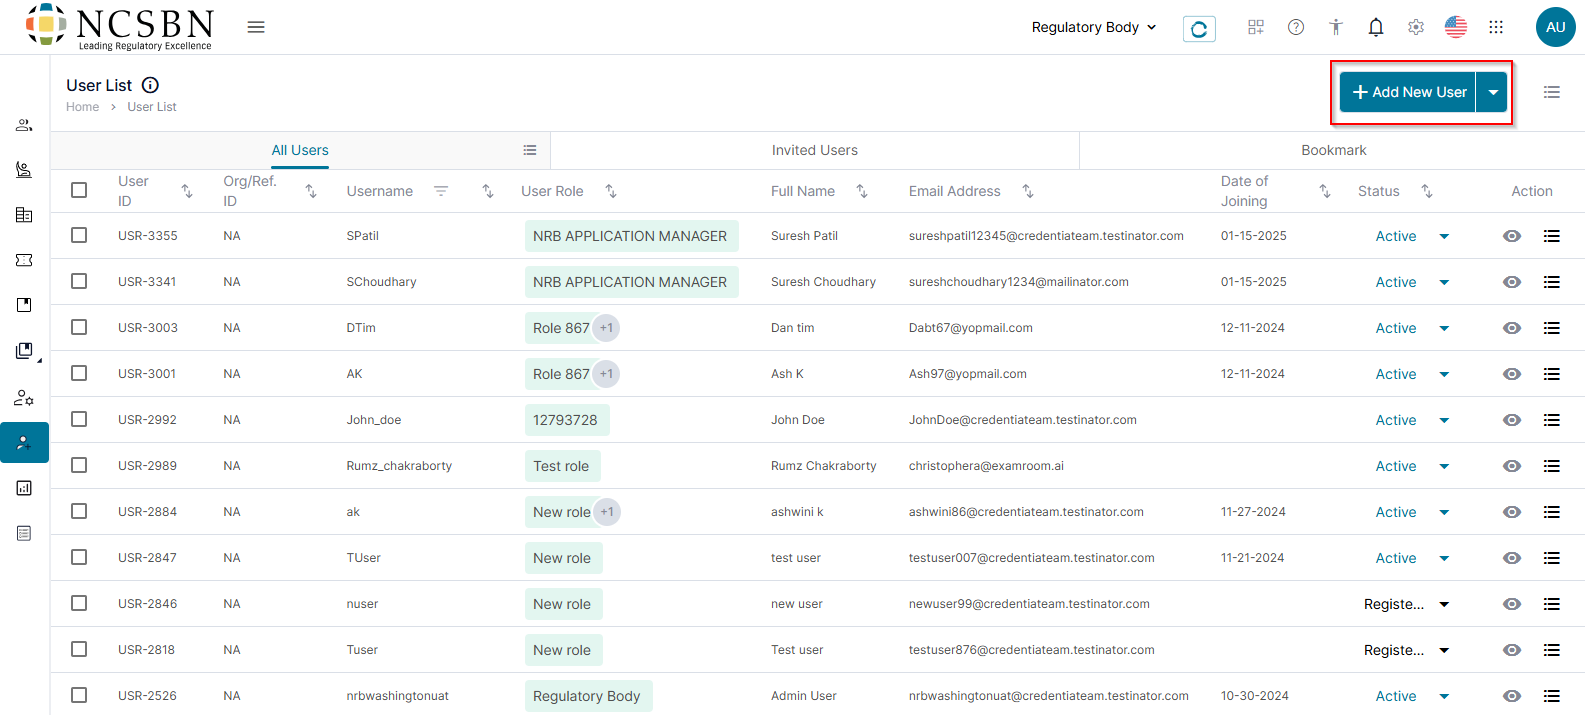
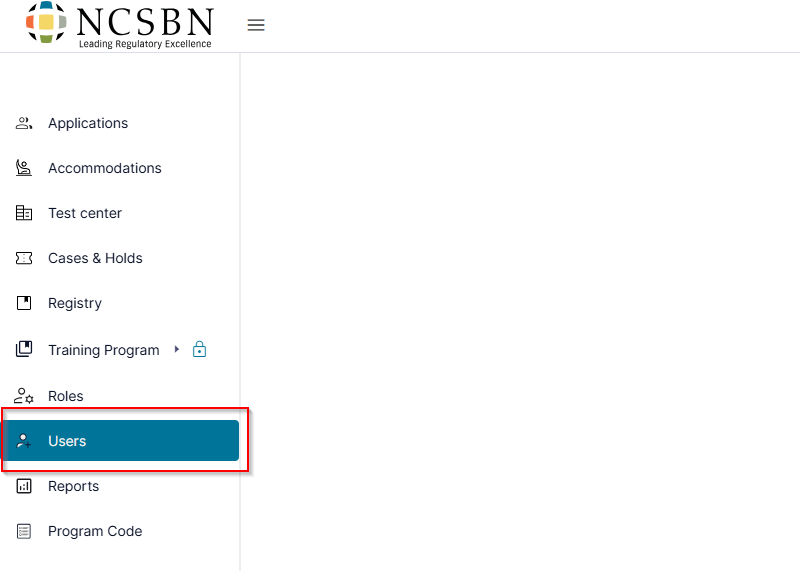
- Click Users from the left-side menu.
- To add a user, click +Add New User.
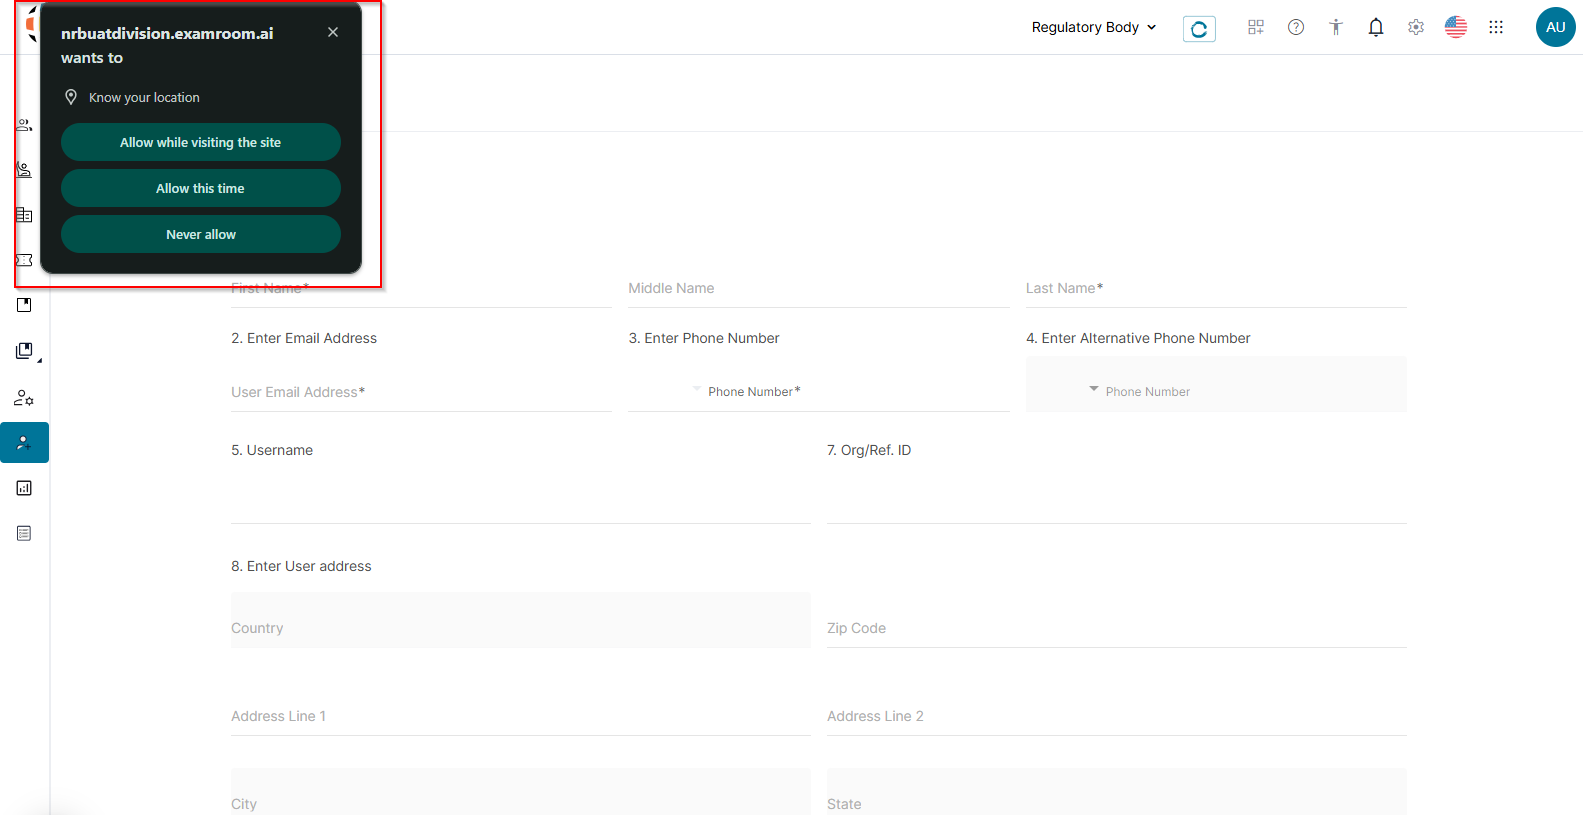
- On the Add New User page, click Allow to share your location and proceed with entering the details.
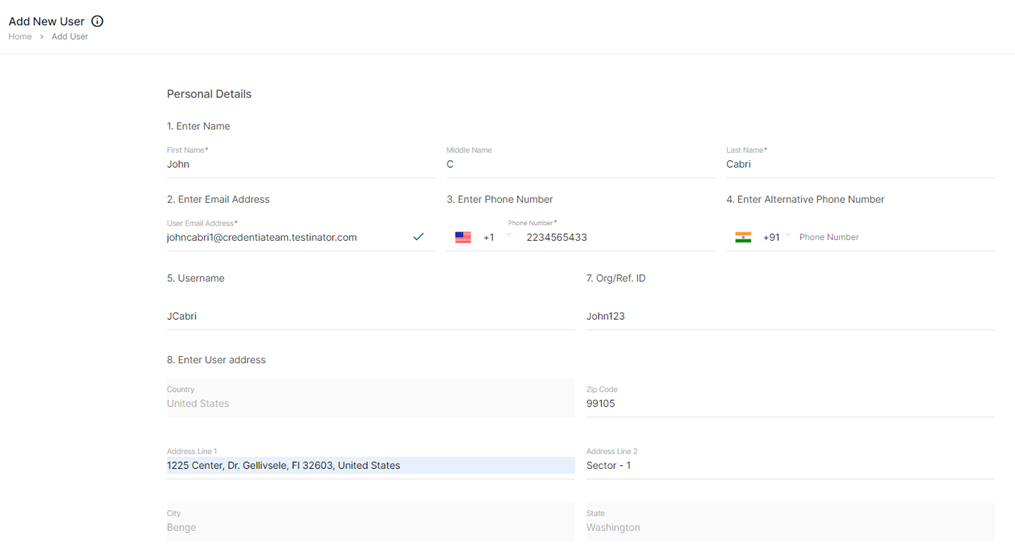
- Provide the First Name, Last Name, and Email Address of the User, including their Primary and Alternative Phone Numbers.
- Enter the Organization or Reference ID (Org/Ref.ID). The username will pre-populate.
- Complete the user’s address and zip code. Once you add the zip code, the other fields, including country, state, and city, will be pre-populated.
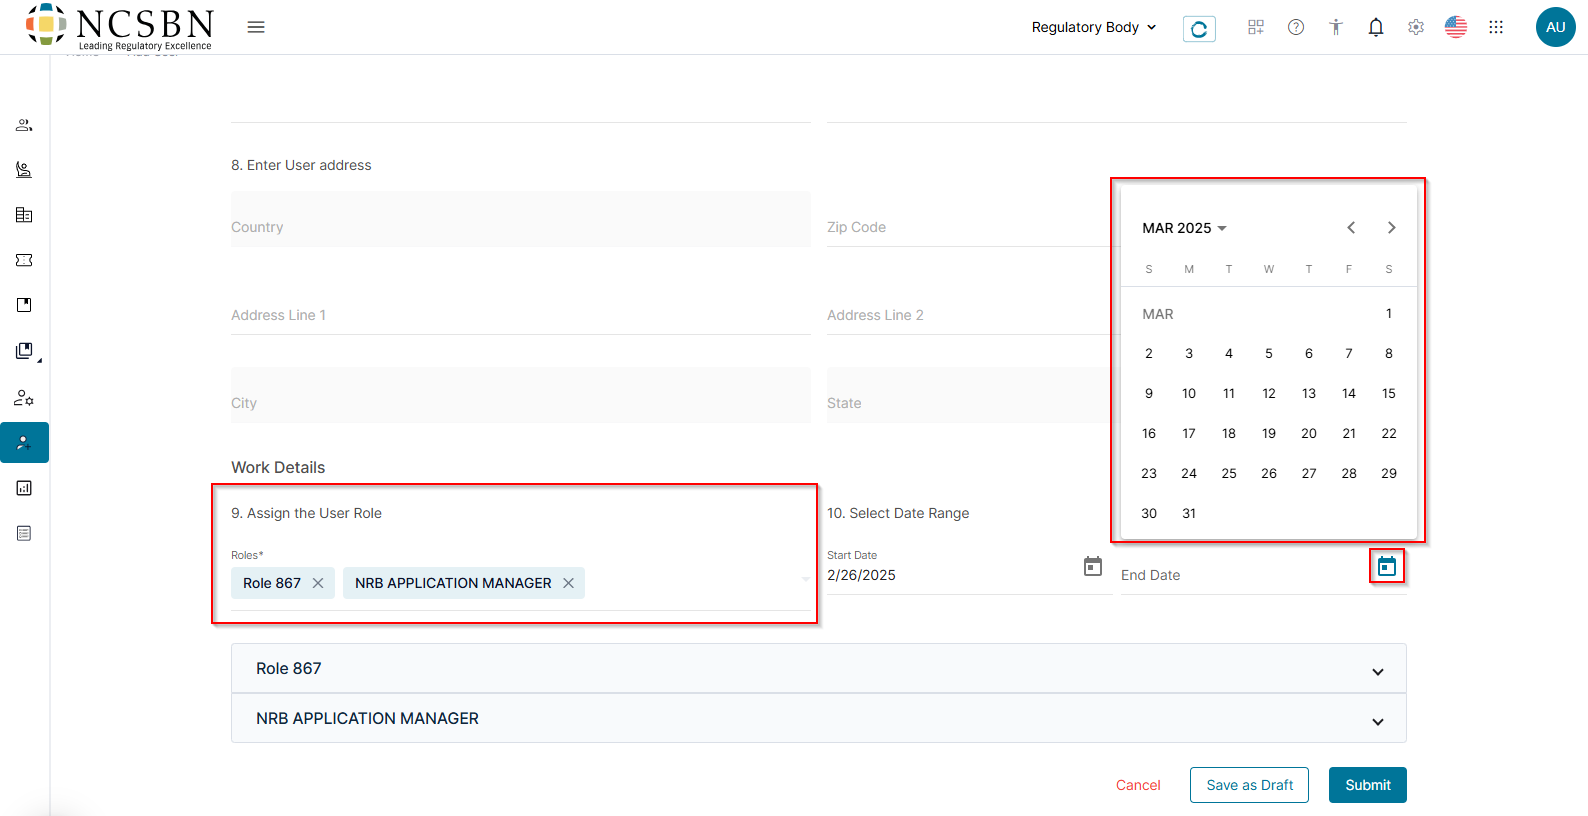
- Assign the role and permissions for the user. You can assign multiple roles to a user if needed.
- If applicable, set the active period for the user account by selecting the Date Range using the Calendar icon.
- Click Submit to create the user or click Save as Draft to continue at a later time. Otherwise, click Cancel to exit without saving.
Note: An email will be sent to the user's email address with a link to log into their account.
Invite a user:
Follow the steps below to Invite a User:
- Click Users from the left-side menu.
- Click the down arrow then Invite User.
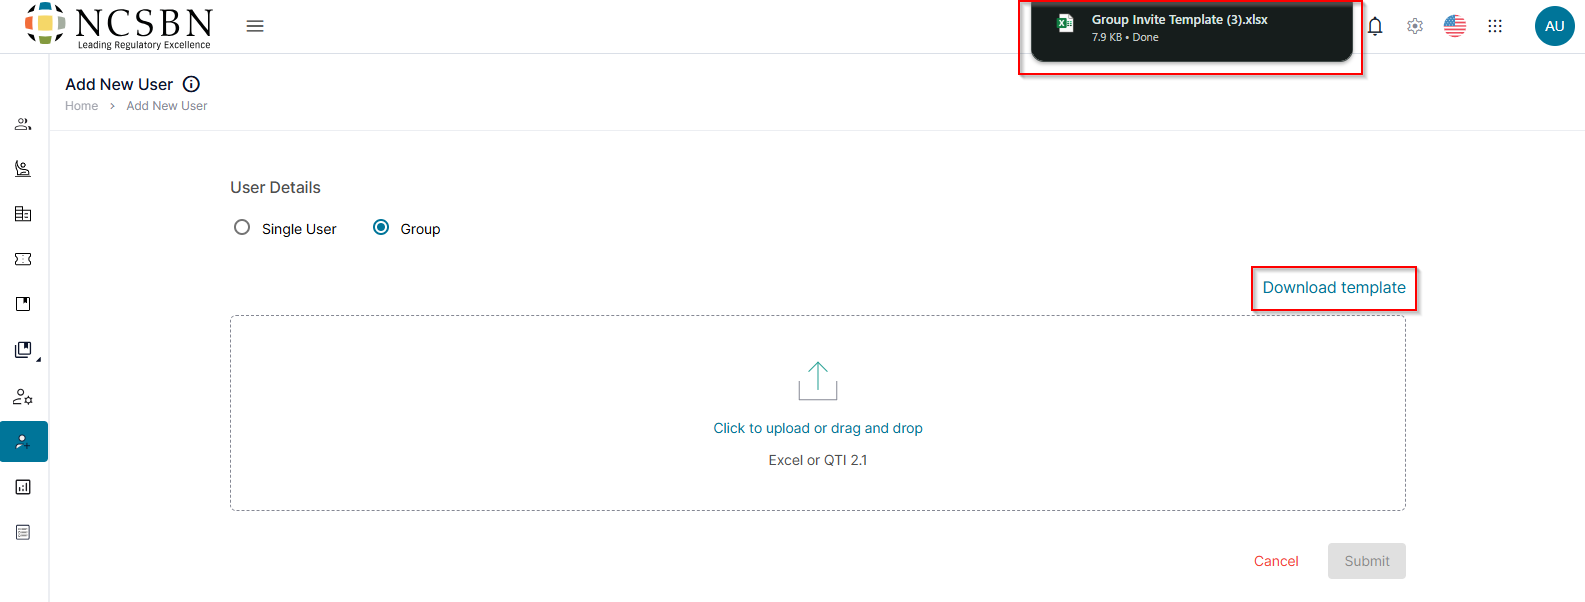
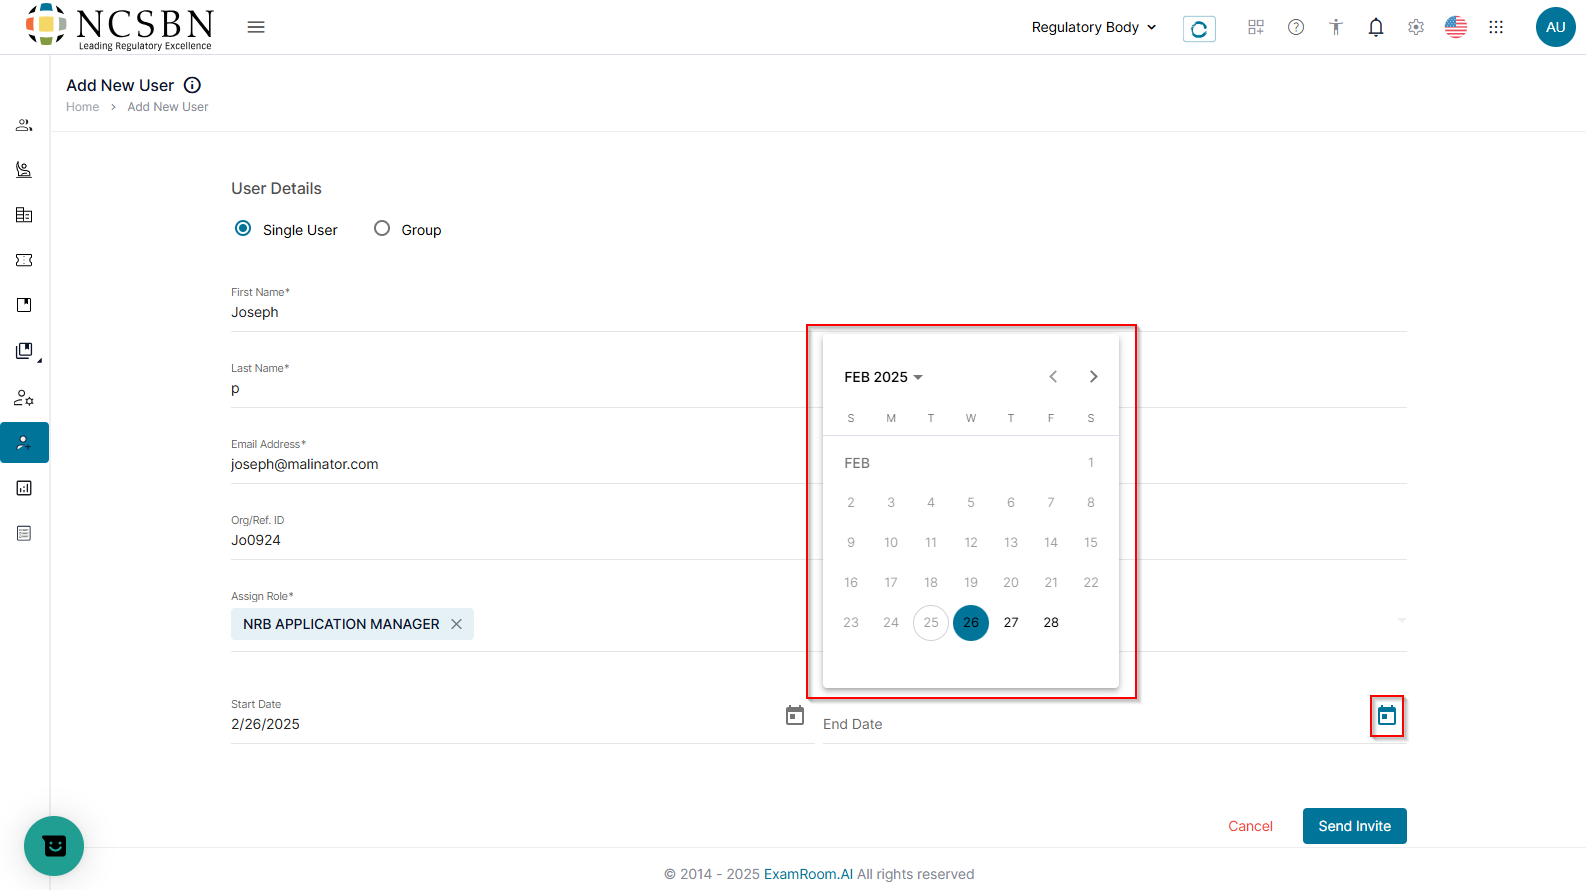
- In the User Details section select either Single User or Group.
Single User:
- Click Single User.
- Complete the First Name, Last Name, Email Address, and Org/Ref.ID.
- Click Assign Role to select one or multiple roles from the dropdown menu.
- Click the Calendar icon to select the Start Date and End Date to define the active period of the User.
- Click Send Invite to send the invite to a single user. Click Cancel to exit without saving.
Group Users:
- Click Group.
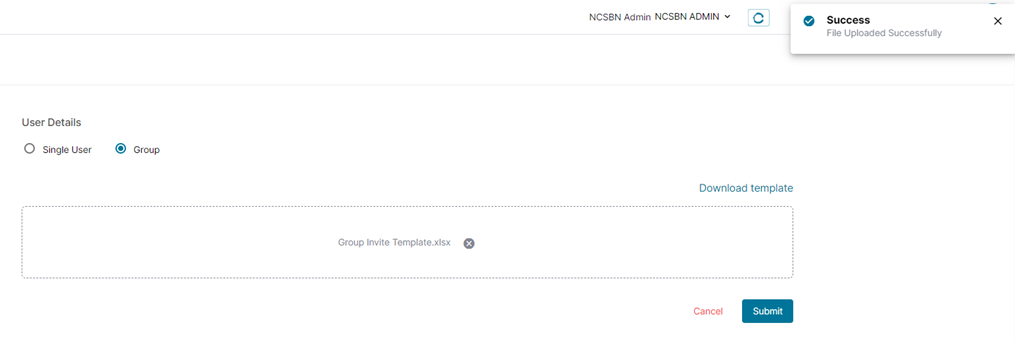
- Click Download Template to download the group invite template.
- In the downloaded Excel template, enter the user details including Email ID, Org/Ref ID, First Name, Last Name, Assign Role, Start Date, and Expiry Date.
- Once the sheet is completed with the group users list, save the template to your computer.
- Upload the saved template by using one of the following steps:
- Drag and drop the file into the box.
OR - Click in the box to open the file selector window and choose the file from your computer.
- Drag and drop the file into the box.
- After uploading the file, click Submit to invite multiple users to the console. Click Cancel to exit without saving.